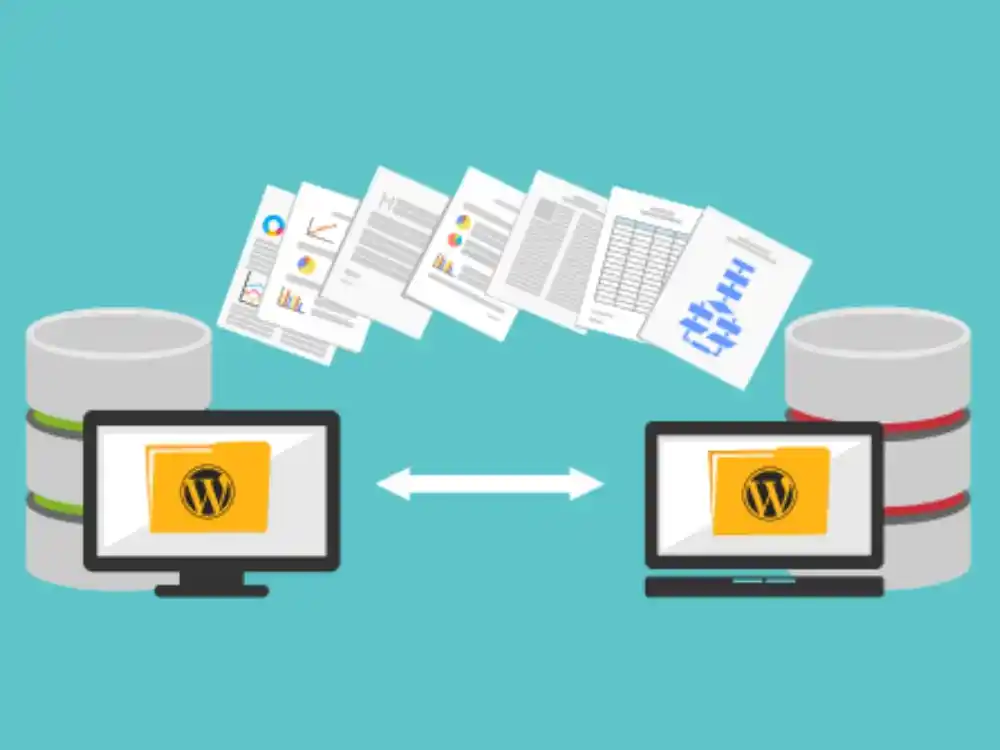
Migrating a website from one server to another can seem daunting, but with the right steps and preparation, it can be a smooth process. This guide will walk you through each step, ensuring that your website moves seamlessly without any data loss or downtime. Here’s how to do it:
1. Pre-Migration Checklist
Before starting the migration process, you must prepare the necessary tools and ensure that both your current and new servers are ready.
Key items to check:
- Domain Registrar Info: Ensure you have access to your domain registrar in case you need to update DNS settings.
- Backup Tools: Use tools like cPanel backups, FTP clients (like FileZilla), and database management tools (such as phpMyAdmin) for manual backups.
- Security: Ensure that both servers are secure, and SSL certificates can be transferred if necessary.
2. Backup Your Website
The first step is to create a complete backup of your website to ensure that no data is lost during migration.
Types of backups:
- Files Backup: This includes your website’s files (HTML, PHP, images, CSS, JavaScript, etc.). You can use FTP to download all the files from your current server.
- Database Backup: If you have a dynamic website (e.g., WordPress), you will need to back up your database using phpMyAdmin or a backup plugin.
Tools to Use:
- cPanel backup wizard
- FTP clients like FileZilla for file transfer
- phpMyAdmin or command-line tools for database backup
3. Set Up the New Server
Before transferring any data, set up your new server and ensure it meets your website’s technical requirements. This includes:
- Server OS (Linux, Windows)
- Database type (MySQL, MariaDB)
- PHP version (or any other language your site uses)
Ensure that the new server has ample storage space, correct software versions (PHP, MySQL), and any required server configurations. You can either set this up yourself or have your hosting provider do it for you.
Steps:
- Install any necessary software (PHP, MySQL, etc.)
- Create a new database for your website if necessary
- Ensure the file structure and permissions on the new server match the old one
4. Transfer Files to the New Server
Once the new server is ready, transfer the backed-up files from the old server to the new one.
Methods:
- FTP/SFTP: Use a tool like FileZilla to upload your website files.
- cPanel file manager: You can also use the built-in file manager in cPanel if both servers support it.
5. Transfer the Database
If your website relies on a database (like WordPress, Joomla, or Drupal), transferring the database is crucial.
Steps:
- Export the Database: Use phpMyAdmin on the old server to export the database into an SQL file.
- Import the Database: On the new server, create a new database, then use phpMyAdmin or the MySQL command line to import the .sql file into the new database.
Update Database Configurations:
- If the database name, user, or password has changed on the new server, make sure to update the configuration files (e.g.,
wp-config.phpfor WordPress) accordingly.
6. Test the Website on the New Server
Before going live, test your website to ensure everything works correctly on the new server.
Key Things to Check:
- Functionality: Make sure all links, forms, and features are functioning as expected.
- Database Connections: Verify the site connects to the new database without errors.
- Permissions: Ensure all file permissions are set correctly (e.g., 755 for directories and 644 for files).
- Check for Broken Links and Errors: Use tools like Google Chrome’s developer console or external tools like Screaming Frog to check for broken links or missing files.
7. Update DNS Settings
Once you’ve verified that the website works on the new server, the final step is to update your DNS settings to point to the new server.
How to Update DNS:
- Log in to your domain registrar where your domain is registered.
- Update the A Record to point to the IP address of the new server.
- Propagation Time: DNS changes can take 24-48 hours to propagate, so both servers may run simultaneously during this time.
Alternative: Temporary Hosts File Update
While waiting for DNS propagation, you can modify your local hosts file to test the site directly from the new server by mapping the domain name to the new IP.
8. Monitor the Migration and Final Testing
Once DNS propagation is complete, monitor your website to ensure it runs smoothly on the new server.
Post-Migration Steps:
- Check Google Analytics and Search Console for any indexing or tracking issues.
- Monitor Traffic and Errors: Check error logs and monitor site performance for issues.
- SSL Certificate Transfer: Ensure that the SSL certificate is correctly installed on the new server for HTTPS websites.
9. Post-Migration Cleanup
After you’ve confirmed that the migration is successful, clean up any leftover files and data on the old server.
Actions to Take:
- Cancel Old Hosting Plan: Once you’re confident the new server is functioning perfectly, cancel the old hosting service.
- Remove Temporary Redirects: If you used any temporary URLs or hosts file changes, revert them.
10. Common Issues and Troubleshooting
Migration may lead to some common issues. Here are a few you may encounter and how to resolve them:
- Error 500: This is often caused by improper file permissions or configuration errors. Check server logs for more info.
- Database connection errors: Verify your
wp-config.phpor equivalent database configuration file is correctly set with new credentials. - Broken Links or Missing Files: Ensure all files have been transferred, and any absolute URLs in your database are updated to reflect the new domain or structure.
Conclusion
Migrating a website from one server to another is a detailed process that involves backups, transferring files, database handling, and DNS updates. With careful planning, regular backups, and thorough testing, the transition should be smooth and error-free. Always ensure your new server meets the technical requirements, and monitor the website closely after the migration to address any potential issues.


